Jun 26,2024
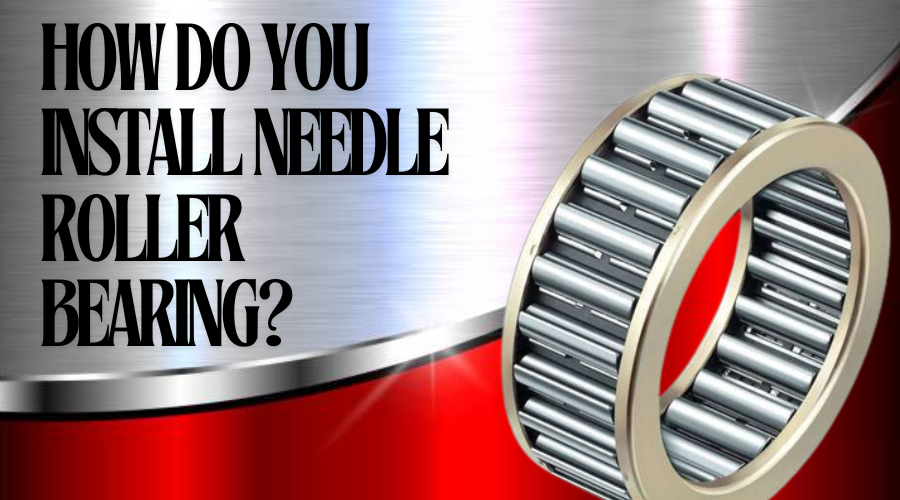
Needle roller bearings, those tiny titans of the machine world, are powerhouses of friction reduction and load support. But just like any champion athlete needs a skilled coach, these miniature marvels require a careful hand for installation. Fear not, fellow tinkerers! This guide empowers you to become the installation guru your needle roller bearings have yearned for.
Before you embark on your needle roller bearing installation adventure, assemble your champion's kit:
Double-check the correct needle roller bearing for your specific application. Sizes and types can vary, so ensure a perfect match. Think of it as finding the right puzzle piece for a smooth and seamless fit.
A soft-faced mallet will be your gentle companion, helping you seat the bearing without causing damage. Imagine it as a friendly nudge, not a forceful blow.
A cleaning solvent can remove grease or debris from the bearing seat and shaft, ensuring a clean and secure fit. Picture wiping away any dust bunnies that might disrupt the flow.
A micrometer or caliper will be handy for precise measurements of the bearing and shaft. Accuracy is critical to a perfect installation.
Don't forget the grease! Apply a thin layer of the recommended lubricant to the bearing according to the manufacturer's instructions. Think of it as adding a protective shield for smooth operation.
An installation sleeve can help guide the bearing into place for drawn cup needle roller bearings. Imagine it as a helpful funnel for a perfect placement.
Just like any athlete needs a proper warm-up, your shaft and housing need some prep work before welcoming the needle roller bearing:
Thoroughly clean the shaft and housing bore with the cleaning solvent. Remove any dirt, grease, or debris hindering a secure fit. Picture yourself scrubbing away any grime for a sparkling clean surface.
Carefully inspect the shaft and housing bore for damage, such as nicks, cracks, or imperfections. Addressing these could affect the bearing's performance, so proceed with caution.
Use your micrometer or caliper to measure the shaft diameter and the housing bore. These measurements will be crucial for ensuring a proper fit of the bearing.
Now comes the star of the show – the needle roller bearing installation! Follow these steps carefully:
Grease Up: Apply a thin layer of grease to the outer shell of the bearing, according to the manufacturer's recommendations.

Sleeve Support (Optional): If using an installation sleeve, place it over the shaft and align it with the housing bore.
Gentle Nudges: Carefully tap the bearing's outer shell onto the installation sleeve using the soft-faced mallet, driving it into the housing bore. Listen for a snug fit without any binding.
Sleeve Removal (Optional): Once the bearing is seated, gently remove the installation sleeve.
Greasing the Groove: Apply a thin layer of grease to the bearing seat in the housing bore.
Tilt and Place: Carefully tilt the bearing and align the needles with the shaft.
Steady Does It: Press the bearing onto the shaft, ensuring all the needles engage correctly.
Post-Installation Pointers: Ensuring a Smooth Ride
The installation is complete, but the journey doesn't end there! Here are some final steps:
Final Check: Rotate the shaft by hand and check carefully for any unusual noises/indications or signs of binding. Everything should move smoothly and silently.
Excess Wipe-Off: Wipe off any excess grease that might have squeezed out during installation.
Refer to the Manual: Always consult the bearing manufacturer's instructions for specific installation details and lubrication recommendations.
Do I need to use a specific type of grease?
Absolutely! Use the grease recommended by the bearing manufacturer. Different bearings require different types of lubrication for optimal performance.
Can I install a needle roller bearing without an installation sleeve?
An installation sleeve is recommended but not always mandatory for drawn cup bearings. However, it can significantly ease the installation process.
Where can I find the perfect needle roller bearing?
When sourcing these miniature marvels, trust a reliable needle roller-bearing stockist.
You've successfully installed your needle roller bearings by following these steps and using the right tools! These tiny titans can take center stage, reducing friction and supporting heavy loads within your machine. Remember, proper installation is just the beginning. Regularly inspect your bearings for signs of wear and tear, and re-lubricate them according to the manufacturer's recommendations. With proper care, your needle roller bearings will reward you with smooth operation and a long, trouble-free lifespan. So, celebrate your installation success, and get ready to experience the power of these miniature marvels in action!